IPTC standards in Adobe’s Custom Metadata Panel
Adobe’s professional services team has created an extension for Adobe tools called Custom Metadata Panel. The tool, which works with Adobe Bridge, Lightroom, Photoshop and Premiere Pro, allows users to embed metadata using custom definitions. A recent update to the tool has added crucial features that now support the full range of metadata properties used by IPTC Photo Metadata Standard and Video Metadata Hub.
The IPTC Photo and Video Metadata Working Groups have created metadata templates for our standards, which are now included “out of the box” in the Custom Metadata Panel.
Installing the plugin
In most cases this can be done using the Adobe Creative Cloud Desktop application. This link should take you directly to the Custom Metadata Panel page.
Otherwise, from the Creative Cloud home, choose “Stock and Marketplace” -> “Plugins”. Search for “Custom Metadata”.
We suggest using this extension with Adobe Bridge, as Bridge is made for managing images, including their metadata.
Activating the plugin
- Note for Apple users on Apple chips (M1 / M2 / M3) using Photoshop: please run Photoshop in Rosetta 2 mode in order to use this extension:

- In Illustrator, Premiere Pro and Bridge: choose Window > Extensions > Custom Metadata
In Photoshop: choose Windows > Extensions (Legacy) > Custom Metadata

- First an empty panel is shown. After selecting an image, more details will appear.
As of version 2.0.5 of the Custom Metadata Panel, the default view is now IPTC Photo Metadata Standard 2024.1:

- That’s all you have to do: you are now set up! You can now your images’ embedded metadata using the full range of IPTC Photo Metadata properties.
Advanced usage: customising the IPTC view
You may wish to customise the view, for example to only display a subset of IPTC properties that you use most often. Another example would be to have several tabs, each focussing on a particular type of metadata: rights, descriptions, people and places etc.
The Custom Metadata Panel is organised by Tabs, each of which has a corresponding View. Users may wish to have several tabs active, with each tab focusing on a specific set of metadata.
- To customise the view, open the Tab Management screen: first click on Preferences and then View editor. You will see a screen such as the following:
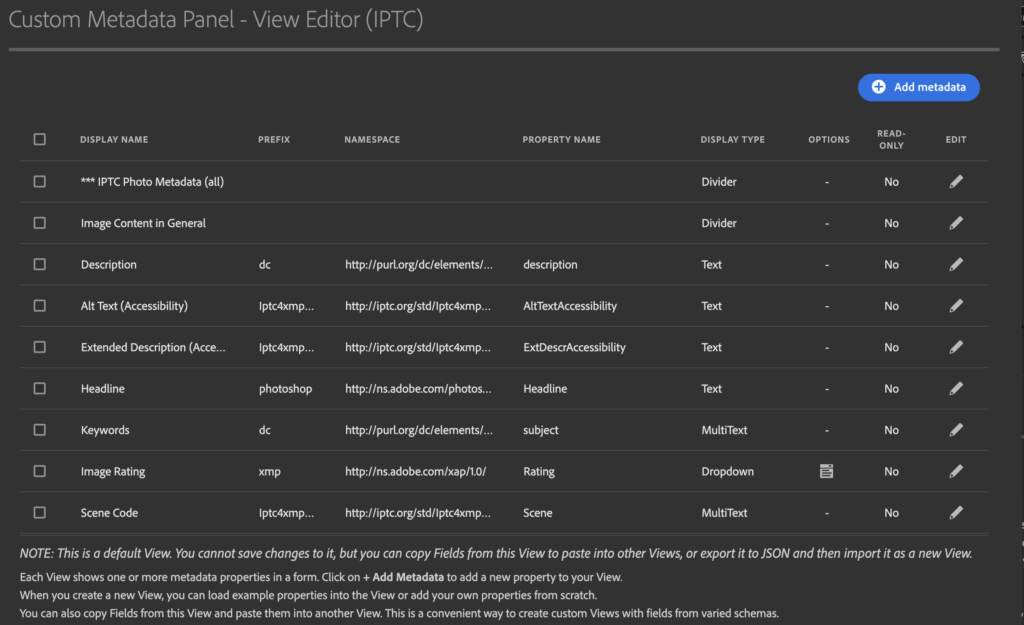
- Use the tools in the View editor to remove fields that you do not use and/or re-order fields into an order that works for you. To re-order fields, simply drag the line up and down in the editor. To remove a field, select the checkbox to its left and choose “Delete selected property” button in the top right of the View editor screen.
(Please note that we do not recommend editing IPTC fields in the view editor, as changing data types or XMP IDs will probably make your metadata incompatible with other software.) - Once you are happy with your tailored view, you must save the view’s configuration as a JSON file and then add it as a new tab:
- Choose “Export to JSON”. Give your new view a name and save it.
- Close the view editor using the close button in the top left corner of the window.
- Go to Tab Management. Click “Create new tab”.
- Click in the “click here or drag and drop” box, as seen below:
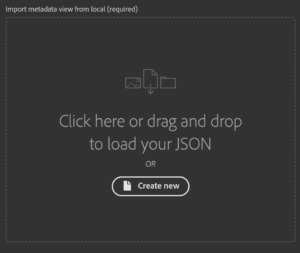
- Find your saved JSON file in the file browser (it may be in “recent locations”).
- Give your new view a name by filling in the Tab name (required) field:

- Click the blue “save” button and your new view will appear in the tab manager. Save the tab manager list (using the blue “save” button) and close the tab manager (using the red close button in the top left).
- Your new view should appear as a new tab in the metadata panel: (If it doesn’t appear, try closing the application and re-opening it)

Next, please read our guidance on handling a few specific field types of the Custom Metadata Panel.
If you discover any problems, please contact Brendan Quinn at [email protected] or the IPTC Photo Metadata Working Group via [email protected].